Bowing Wall Repair and Interior Drain Tile in Ferndale, MI
Two Problems, One Job — Wall Deflection and Water Intrusion
A wall deflecting from half an inch to two inches across its span, and water intrusion traced to aging exterior drain tile. Braced first, then the floor came out.
At a Glance
Location: Ferndale, Michigan
Problem 1: One basement wall deflecting inward
Problem 2: Water intrusion requiring an interior drain tile system to manage water at the base of the footing — the home’s original exterior drain tile had likely failed with age
Wall span: Approximately 28 feet — the wall that needed bracing, and one of the three walls that received interior drain tile
Deflection: A gradual progression across the span — about 1/2 inch at one end, increasing steadily to roughly 2 inches at the other
Structural work: Six W4x13 steel beams across the full span, anchored to the footing below and the floor joists above
Beam spacing: Set to the wall — tighter through the worst deflection, out to a five-foot maximum where movement was less
Waterproofing work: Interior drain tile on three of the four walls, the walls showing signs of moisture, tied into a new sump basin
Result: Wall stabilized, and water at the base of the footing now collected and carried to the sump instead of entering the basement
The Call
Suburban Basement Waterproofing was called to a project in Ferndale to correct two issues.
The first was one basement wall showing signs of deflection. The second was water intrusion, which called for an interior drain tile system to manage water at the base of the footing.
What We Found
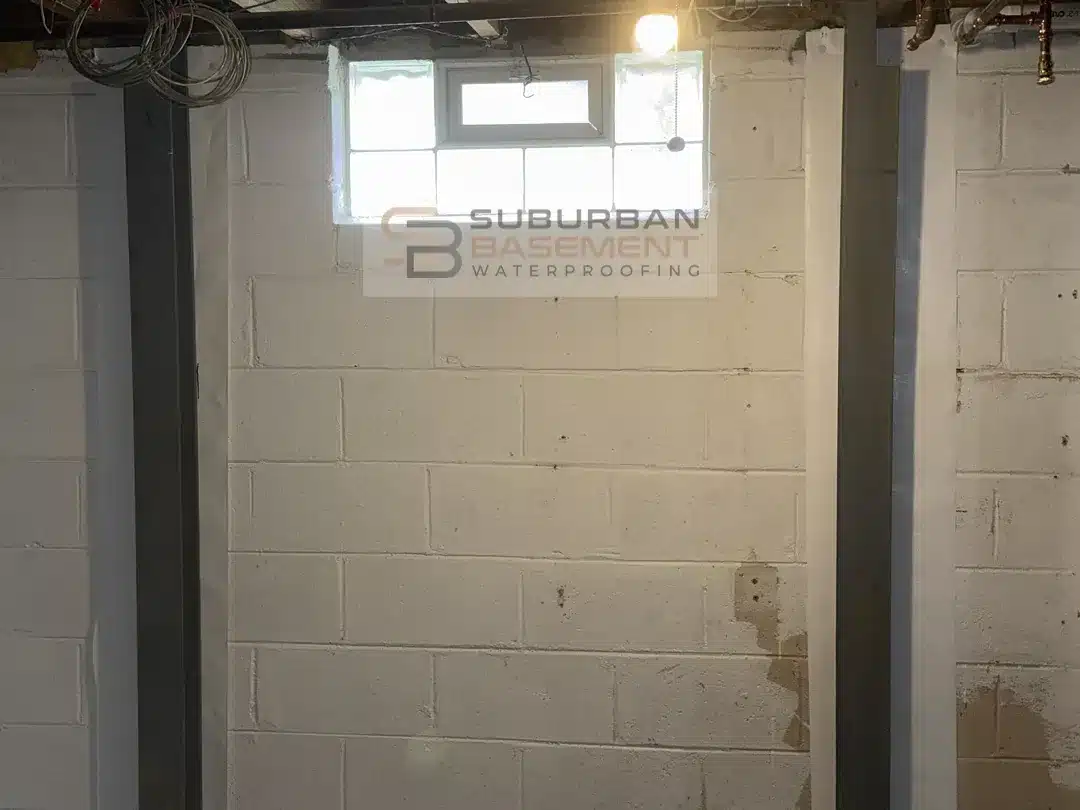
A block wall deflecting inward, and the movement was not uniform. It ran as a gradual progression across the entire span — about half an inch at one end, increasing steadily to roughly two inches at the other. The half-inch end is the corner opposite the sump pump basin; the two-inch end is nearest the basin.
Three of the four basement walls showed signs of moisture. The home has exterior drain tile, and it had likely failed with age — which is what left water to manage at the base of the footing.
What Caused the Movement
The likely cause was excess water sitting at the base of the foundation. With the home’s exterior drain tile having aged out, there was nothing managing water at the footing — which is why an interior drain tile system was needed alongside the bracing.
The movement progressed gradually across the span, from about half an inch at the corner opposite the sump pump basin to roughly two inches at the basin end.
The homeowner had recently purchased the house and didn’t have much history on it.
Why We Braced the Wall Before Opening the Floor
Installing interior drain tile means jackhammering out the perimeter of the basement floor. That is a lot of vibration, right at the base of the wall.
When we know there is movement in a wall, we do not open the floor until the wall is braced. The concern is that vibration next to a wall that has already moved could cause further movement — or, in the worst case, wall failure. That is an extreme outcome. It is also not one we leave to chance.
So the beams went in first, then the floor came out. That sequence cost no additional time on this job. It is one more step in the order of operations, not extra labor, and it removed any chance of the drainage work making the structural problem worse.
It also determined how the vapor barrier went in. Because the beams were set first, we ran the woven vapor barrier behind the beam locations at that stage — which let us tie the rest of the barrier into those sections after the drain tile system was installed.
What We Did — Structural
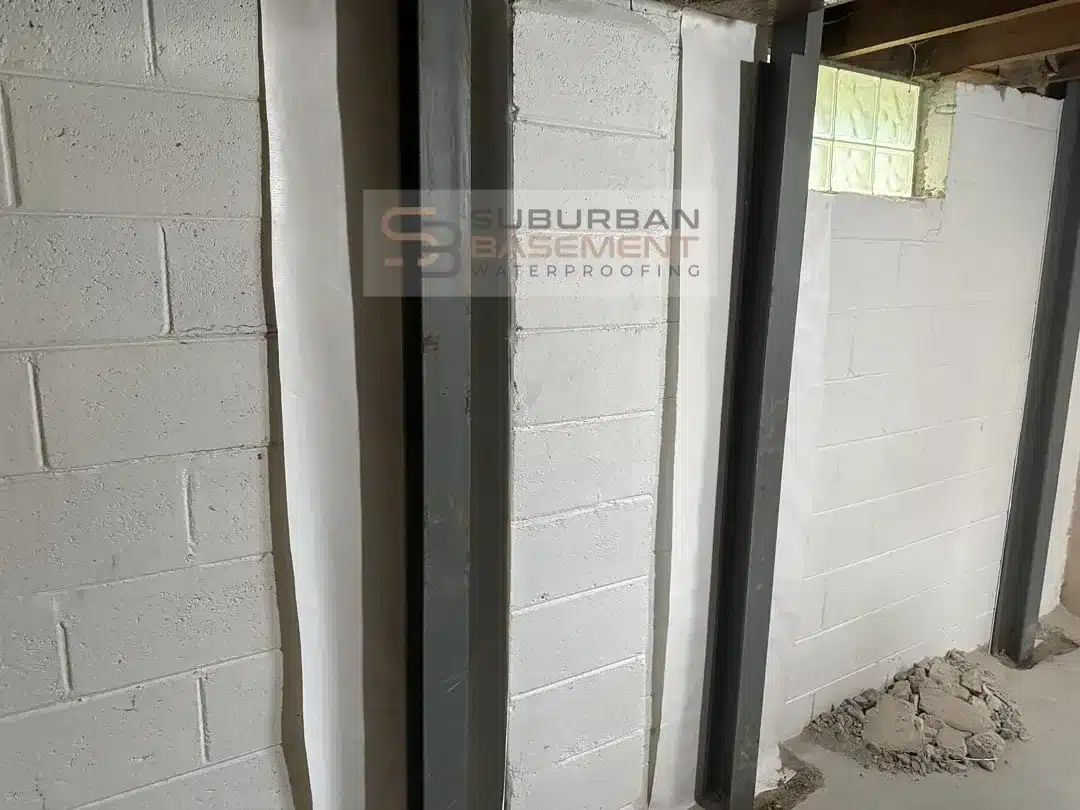
The deflecting wall runs approximately 28 feet. It is the wall that needed bracing, and it is also one of the three walls that received interior drain tile. We set six W4x13 steel beams across that entire span, anchored to the footing below and into the floor joists above. We started by breaking open sections of the floor to reach the footing.
The beams are not evenly spaced. We set them where the wall needed them — closer together through the sections with the worst deflection, and out toward our five-foot maximum spacing where the movement was less.
We anchored to the footing because a new interior drain tile system was going in. The new concrete poured back over a drain tile run is never as thick as the original floor — drainage stone takes up part of that depth — so we wanted something solid to anchor into.
On a job where beams are going in and no drain tile is being installed, we anchor to the original concrete instead. It is more robust and can handle the pressure of the wall pushing against it.
Protecting the Home During the Work
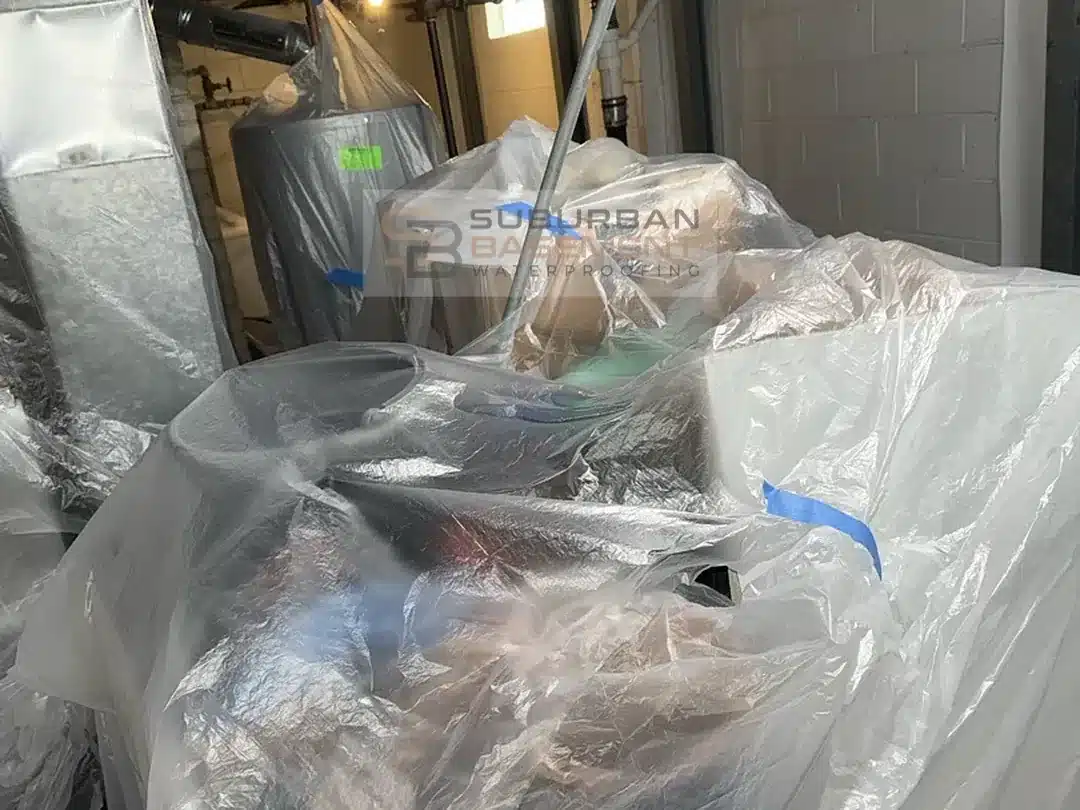
Before any concrete was opened, we set up dust containment in the work area. The homeowner’s personal belongings were covered in plastic, and the hot water tank and furnace were wrapped and protected. A HEPA filter ran throughout the installation.
What We Did — Interior Drainage
The interior drain tile went in on three of the four walls — only the walls that showed signs of moisture:
Broke open the floor along those three walls and removed the concrete
Trenched along the footing and removed all the spoils and dirt
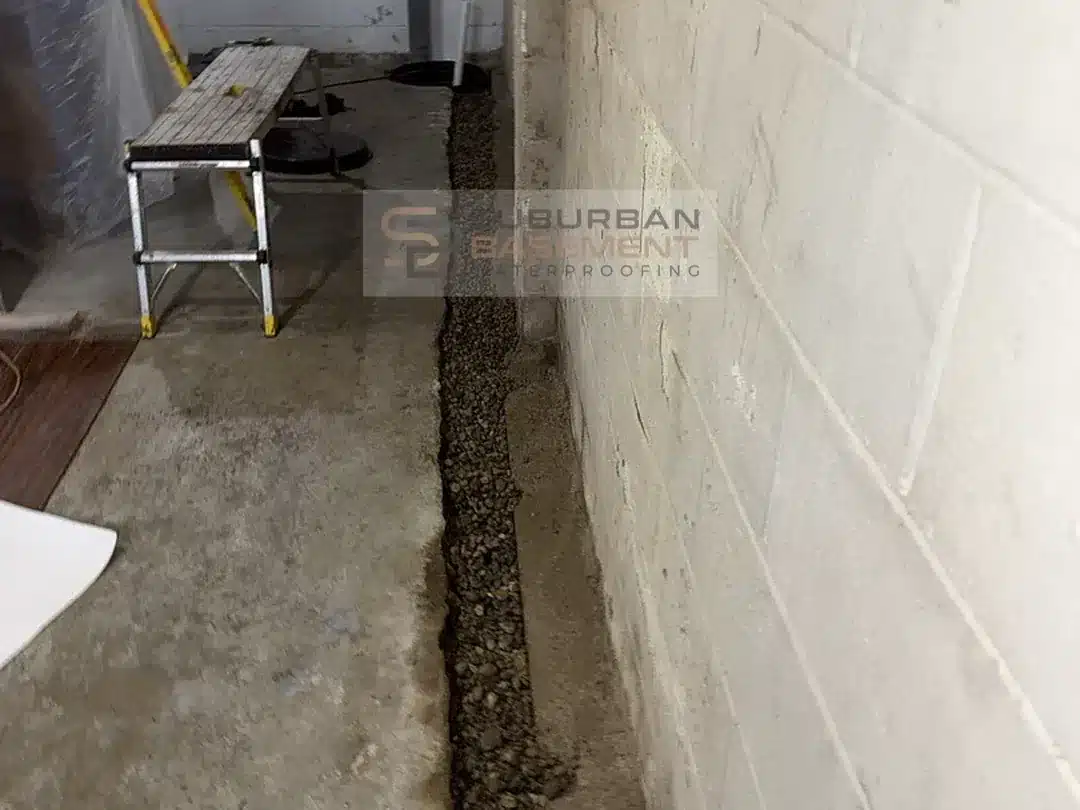
Laid a base of new stone
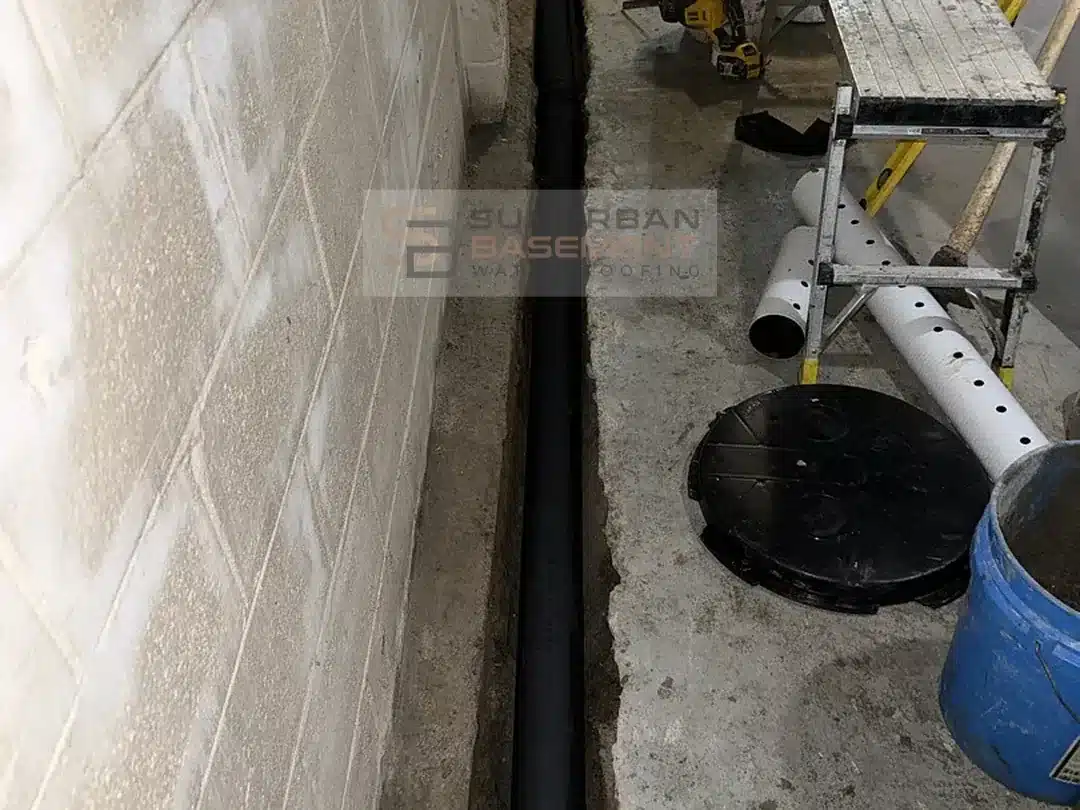
Set new perforated drain tile pipe with a nylon sleeve to protect it from sediment intrusion
Covered the pipe with new stone
Installed the woven vapor barrier along those walls, covering them from the ceiling down to the footing, sealed along the ends and the tops
Installed flashing to channel the water from behind the vapor barrier into the drain tile
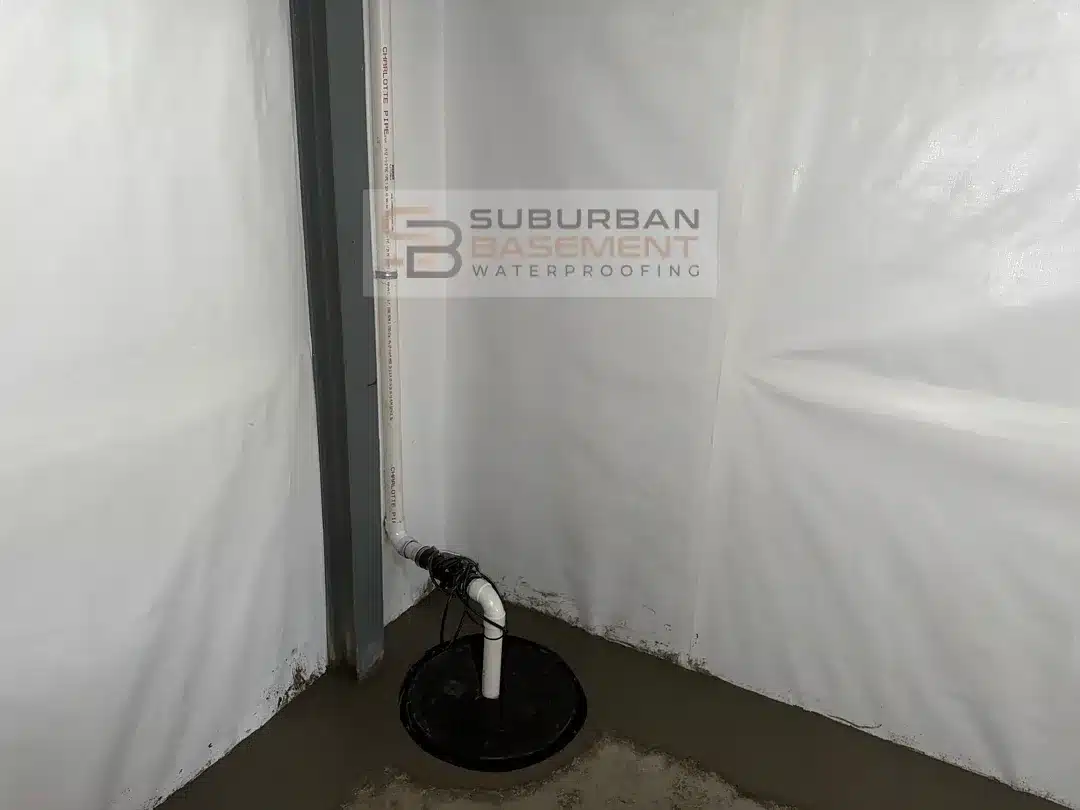
Tied everything into a new sump basin
Installed a cleanout, so the drain tile can be snaked out or cleaned — the rest of the line is accessible through the inlet pipes
Concreted all the areas that were opened up
The woven vapor barrier is sealed along the ends and the tops, which makes it a closed moisture barrier system.
The Result
The bowing wall was stabilized with six W4x13 beams across its full 28-foot span, anchored to the footing and the floor joists, and interior drain tile was installed on the three walls showing moisture — with the woven vapor barrier running unbroken behind the beams and everything discharging to a new sump basin.
Water at the base of the footing is now collected by the drain tile and carried to the sump basin rather than finding its way into the basement. The wall is braced, and the condition that was loading it is being managed.
Project Photos
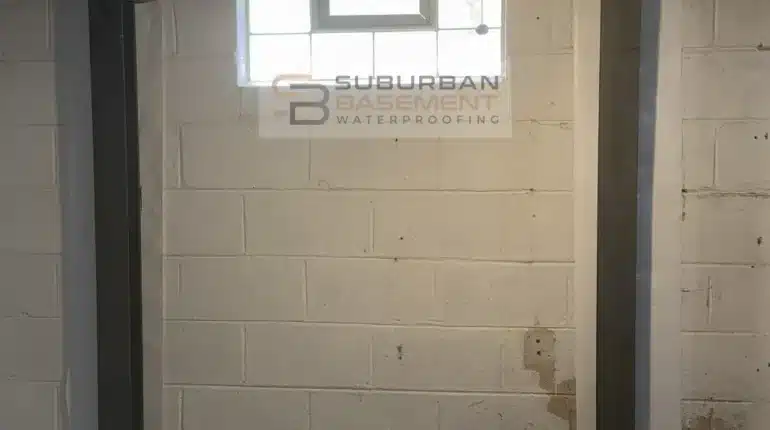
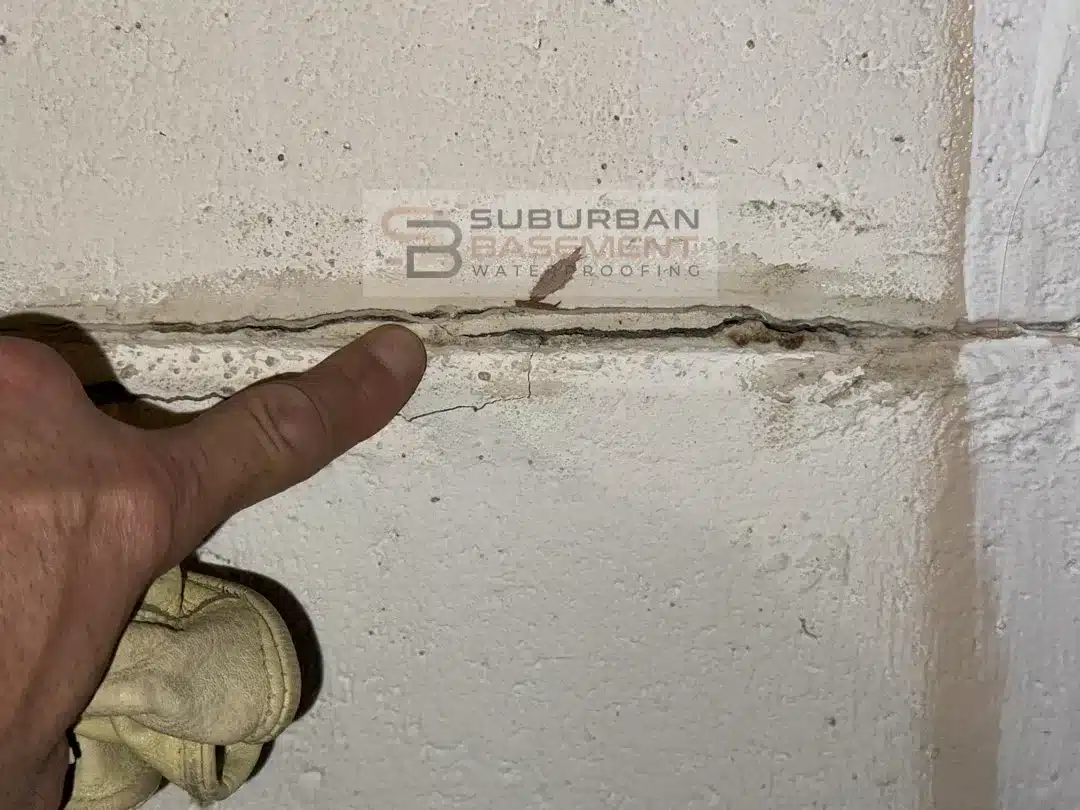
The block wall before any work — the horizontal crack along the mortar joint where the wall had moved inward.
Belongings, hot water tank and furnace covered and taped off before any concrete was opened.
Woven vapor barrier run behind the beam locations before the beams were set.
W4x13 steel beams across the wall's span, anchored to the footing below and the floor joists above.
New drain tile in its black sediment sleeve, dry fitted in the trench along the footing before the stone is laid.
New drainage stone set over the drain tile along the footing.
The new sump basin tied in, woven vapor barrier sealed to the walls, concrete restored.
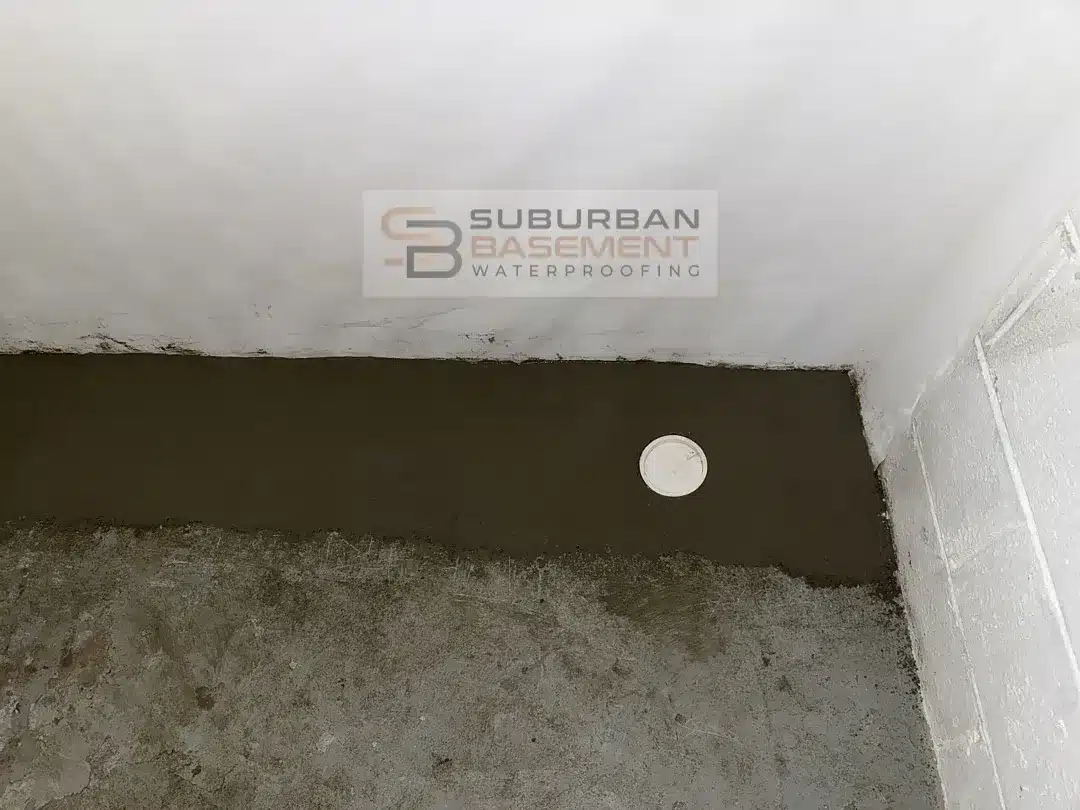
The finished perimeter with the drain tile cleanout access set into the new concrete.
Questions From This Job
The house already had exterior drain tile. Why add an interior system? The exterior drain tile had likely failed with age. Rather than excavate around the foundation to replace it, an interior drain tile system manages water at the base of the footing from inside and carries it to a sump basin.
Why did only three of the four walls get drain tile? Because we install it only on the walls that show signs of moisture. Three of the four did.
Wall Moving Inward, or Water in the Basement?
Call Suburban Basement Waterproofing